Last summer I was staring at a sweltering kitchen and zero desire to turn on the oven, so I threw together these key lime pie cups. They’re my go-to when I want something that feels special but doesn’t cost much or take much effort. You only need a handful of pantry staples, a mixing bowl, and a fridge that does the hard work for you.
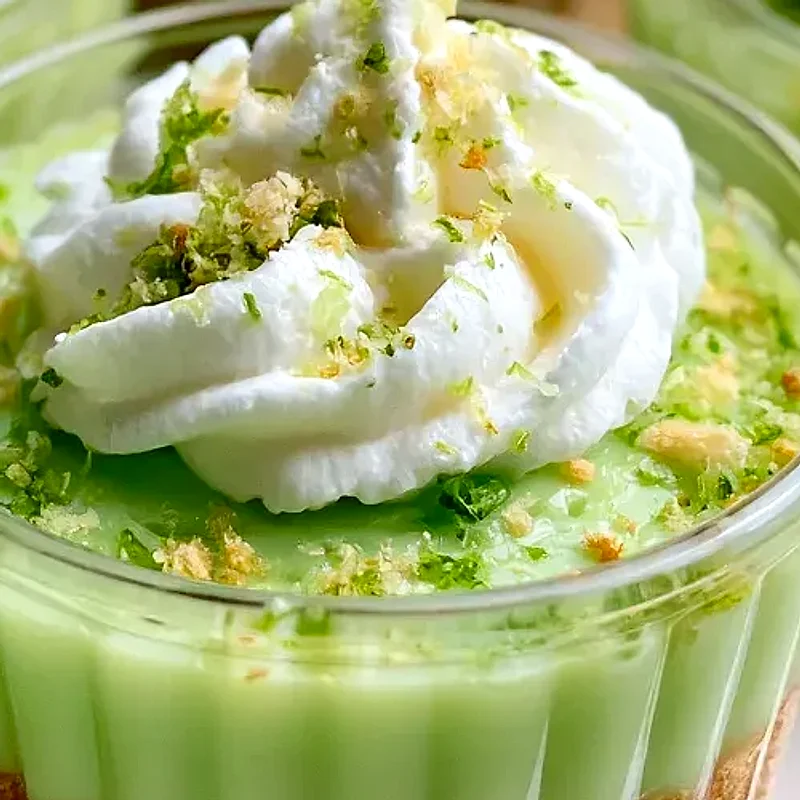
What’s in Key Lime Pie Cups?
The base is simple: graham cracker crumbs and melted butter, which turn into a crunchy, buttery layer that holds everything together. The sugar sweetens the crust a little. The filling starts with softened cream cheese, which gives it body, and sweetened condensed milk, which adds sweetness and helps the filling set without baking. Key lime juice brings the sharp, floral tang that makes key lime pie taste like key lime pie, and vanilla rounds out the edges. Finish with whipped cream and a lime slice, and you have a dessert that looks fancy for almost no money.
Budget-Saving Tips
- Buy the store-brand graham crackers and crush them in a zip-top bag with a rolling pin. It’s cheaper than buying pre-crushed crumbs and gives you a nice, slightly chunky texture.
- Bottled key lime juice is usually cheaper per cup than squeezing dozens of tiny limes, and it tastes just as bright in a creamy filling.
- Buy cream cheese in the larger block and let it soften on the counter while you work. Softened cream cheese blends smoothly and saves you from scraping the bottom of a bowl for lumps.
- Make your own whipped cream from cold heavy cream, a spoonful of sugar, and a whisk or mixer. It costs far less than tubs of topping, and it tastes better too.
Variations to Try
- Coconut crust: Stir 1/4 cup of toasted shredded coconut into the graham crumbs for a tropical twist that pairs beautifully with lime.
- Ginger snap base: Swap the graham crackers for crushed ginger snaps. The spice makes the crust taste warm and cozy.
- Berry topping: Spoon a little raspberry or strawberry sauce over the top before serving for a sweet and tart contrast.
Serving & Topping Ideas
These cups look lovely with a dollop of whipped cream, a thin lime slice perched on the edge, or a light dusting of graham crumbs on top. For a summer gathering, set them out on a tray with a few fresh mint sprigs, or add a few blueberries for color. They also pair well with iced tea or sparkling water on a hot afternoon.
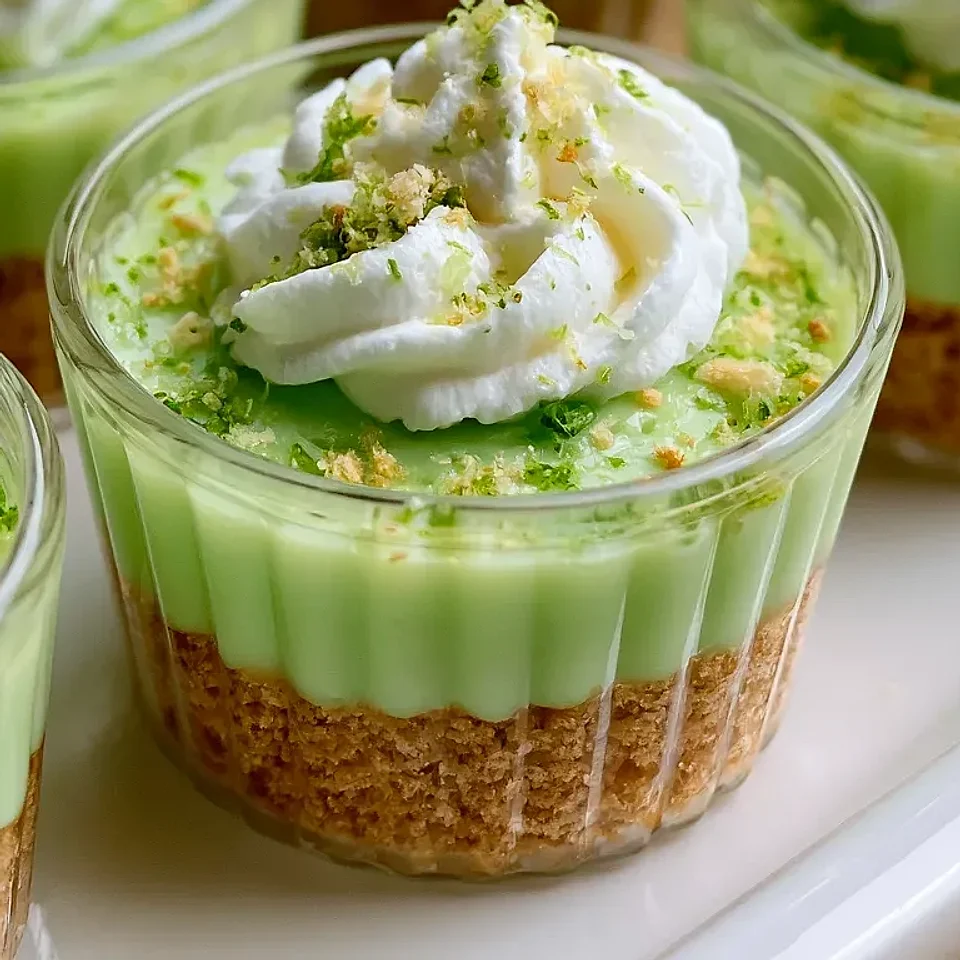
How to Store Key Lime Pie Cups
Keep the cups covered in the fridge for up to four days. The crust stays crisp for the first day or two, then softens slightly, which many people actually prefer. Add the whipped cream just before serving so it stays fluffy.
You can freeze the filling in individual cups for up to a month. Thaw them overnight in the fridge, then add fresh whipped cream and garnish. Avoid microwaving them, since the filling is meant to be served cold and will turn runny.
How to Make Key Lime Pie Cups – Step by Step
1. Stir together the graham cracker crumbs and sugar in a bowl. Pour in the melted butter and mix with a fork until the crumbs look like damp sand and hold together when you squeeze them.
2. Divide the crumb mixture among 8 cups or small glasses. Press it firmly into the bottom of each one with the back of a spoon, then set them aside.
3. In a large bowl, beat the softened cream cheese until smooth and fluffy with no lumps. This takes about two minutes with a hand mixer and makes the filling silky.
4. Add the sweetened condensed milk and beat until combined. Then mix in the key lime juice and vanilla. The filling will thicken slightly and turn a pale, creamy yellow-green.
5. Spoon or pipe the filling over the crusts, filling each cup to the top. Smooth the surface with a knife or spoon, then cover and refrigerate for at least four hours, until the filling is firm.
6. Just before serving, top each cup with a swirl of whipped cream and a thin lime slice. Serve cold, and enjoy the bright, tangy flavor on a warm day.
No-Bake Key Lime Pie Cups
 Recipe byPaula Hernandez
Ingredients
- 1 cup graham cracker crumbs
- 1/4 cup sugar
- 1/2 cup unsalted butter, melted
- 1 (8 oz) package cream cheese, softened
- 1 cup sweetened condensed milk
- 1/2 cup key lime juice
- 1 teaspoon vanilla extract
- Whipped cream for topping
- Lime slices for garnish
Instructions
- Stir together the graham cracker crumbs and sugar in a bowl. Add the melted butter and mix until the crumbs feel like damp sand.
- Divide the crumb mixture among 8 small cups or glasses and press it firmly into the bottoms with the back of a spoon.
- Beat the softened cream cheese in a large bowl until smooth and free of lumps, about 2 minutes.
- Add the sweetened condensed milk and beat until combined. Mix in the key lime juice and vanilla extract until the filling is smooth and pale green-yellow.
- Spoon or pipe the filling over the crusts and smooth the tops. Cover and refrigerate for at least 4 hours until firm.
- Just before serving, top each cup with whipped cream and a thin lime slice. Serve cold.
Notes
- Bottled key lime juice works well here. If you use regular lime juice, the flavor will be slightly less floral but still delicious.
- Make the cups a day ahead for the best texture. Add the whipped cream just before serving.