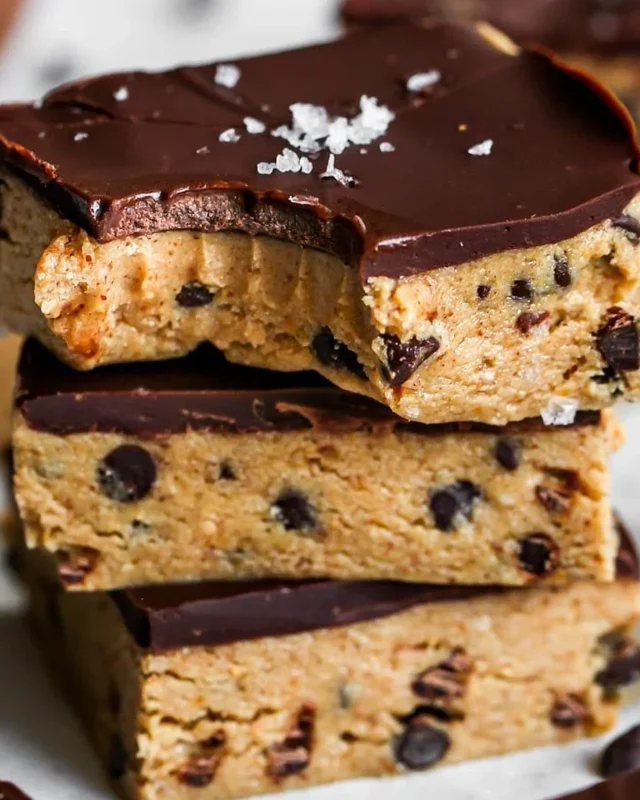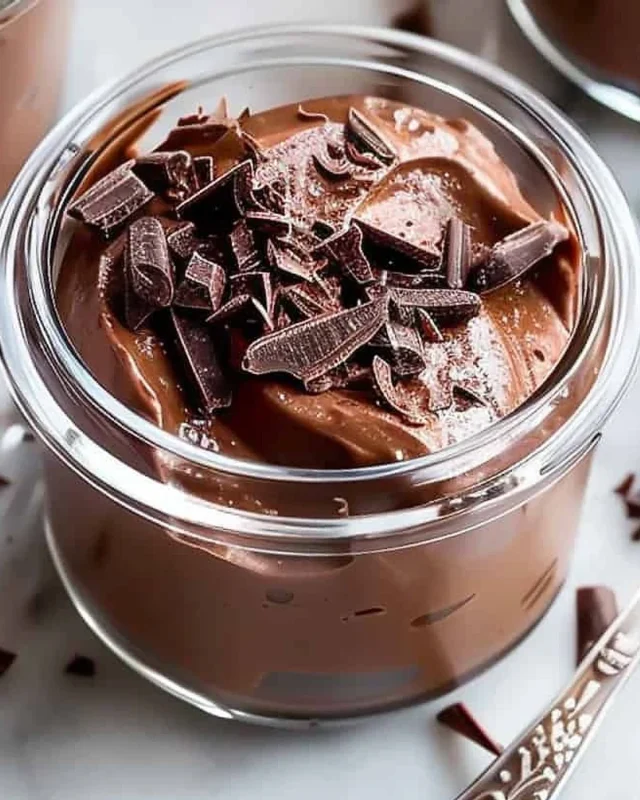
There is something comforting about a pan of homemade bars cooling on the counter, especially when the kitchen stays cool and nobody has to turn on the oven. These no-bake peanut butter granola bars are the kind of treat my family has come to expect on busy weeknights and lazy weekends alike. Rich peanut butter and honey hold everything together, a spoonful of cocoa gives them a deep chocolate flavor, and tiny chocolate chips melt just enough in your mouth. They are a crowd-pleaser for lunchboxes, potlucks and afternoon cravings.
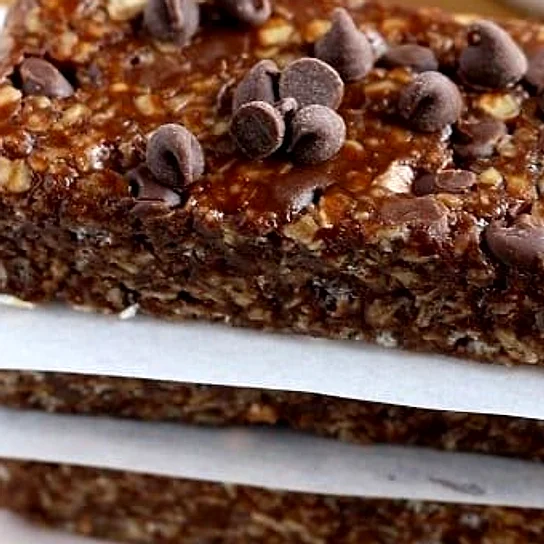
No-Bake Peanut Butter Chocolate Chip Granola Bars
These bars are soft, chewy and a little bit nutty, with a gentle crunch from the crisp rice cereal peeking through every bite. The peanut butter and honey form a glossy, sticky base that binds the quick oats into a bar that holds together without being hard or dry. The cocoa powder adds a mellow chocolate flavor that tastes like a cross between a classic peanut butter cup and a wholesome granola snack. Vanilla and a pinch of salt round out the sweetness so the bars never taste flat. Because nothing is baked, the texture stays tender and fresh, and the mini chips stay scattered in pockets of melty sweetness. They cut cleanly into squares, making them easy to pack, share or sneak from the pan when no one is looking.
Ingredients & Substitutions
Creamy Peanut Butter: Use a smooth, creamy natural-style peanut butter so the mixture binds well. Crunchy peanut butter works too, though the bars will be a little more crumbly. Avoid powdered peanut butter, which will leave the mix too dry.
Honey: Honey gives the bars their sticky structure and gentle sweetness. Maple syrup or brown rice syrup can stand in for it, though the flavor will shift slightly and the bars may be a touch softer.
Cocoa Powder: Unsweetened cocoa is what gives these bars their chocolatey depth. Dutch-process cocoa will taste a bit smoother and less bitter, which many people prefer here.
Quick Oats: Quick oats soften enough to bind into a tender bar. Old-fashioned rolled oats can be used, but they are chunkier and may need a few extra minutes of stirring to absorb the sticky mixture.
Crisp Rice Cereal: This adds lightness and a pleasant crunch. Puffed rice or a crisp corn cereal can be substituted if that is what is in your pantry.
Mini Chocolate Chips: Mini chips spread evenly through the bars. Regular chips work, though you may get larger melty pockets. Dark or semisweet chips add a richer taste.
Can I Make These Bars Ahead of Time?
Yes, these bars are an excellent make-ahead treat, and they often taste even better after a few hours in the fridge, when the honey and peanut butter have fully set and the flavors have had time to blend. Make them the afternoon before a party or school event and simply cut them in the morning for the cleanest edges. If you want the bars to hold their shape perfectly, press the mixture firmly into the pan using the back of a measuring cup or a piece of parchment paper. Chilling the pan for at least an hour before slicing makes a noticeable difference. Once cut, the squares are sturdy enough to stack in a container without sticking together.
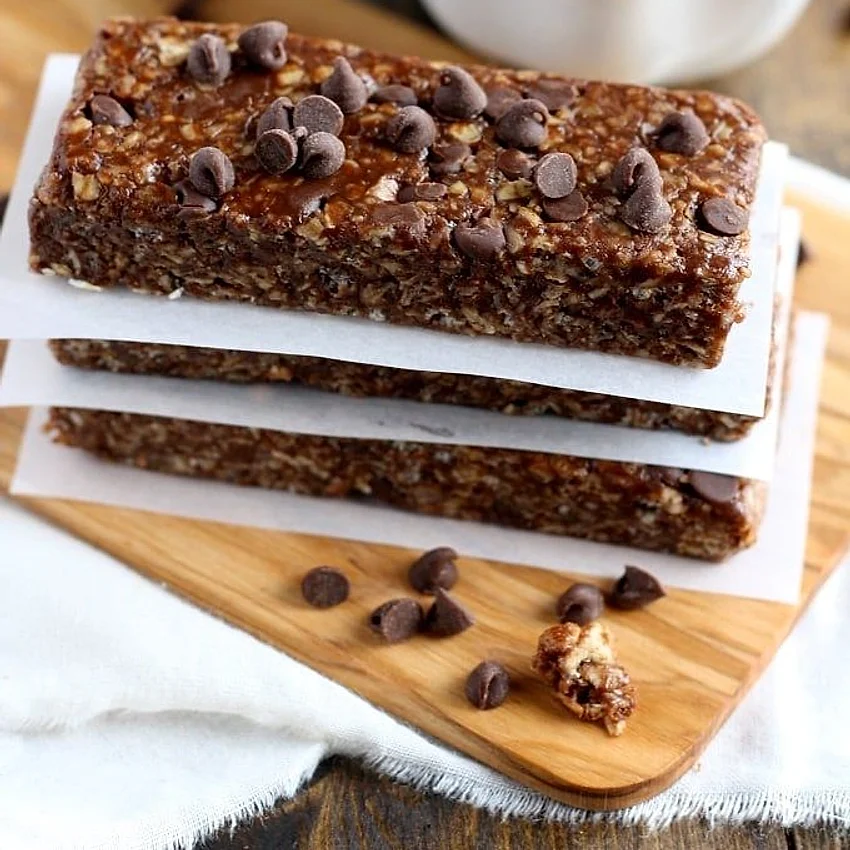
How to Store No-Bake Peanut Butter Bars
Store the bars in an airtight container in the refrigerator for up to one week, with sheets of parchment between layers so they do not stick. They can also be kept at cool room temperature for a day or two, though the chocolate chips will soften more quickly in warm weather. If the bars feel a little too firm straight from the fridge, let one sit on the counter for about ten minutes before enjoying it. Keeping them chilled helps them stay neat and firm, which is especially helpful when packing them for lunches or road trips.
Can I Freeze These Bars?
Yes, these bars freeze well for longer storage, so you can keep a batch on hand for weeks.
- Cut the bars into individual squares once they have chilled fully.
- Wrap each square tightly in plastic wrap or place them in a single layer inside a freezer-safe container.
- Freeze for up to three months, then thaw in the refrigerator overnight before serving.
No-Bake Peanut Butter Chocolate Chip Granola Bars
 Recipe byPaula Hernandez
Ingredients
- 1/2 cup creamy peanut butter
- 1/2 cup honey
- 1/4 cup cocoa powder
- 1/2 teaspoon vanilla extract
- 1/4 teaspoon salt
- 2 cups quick oats (170 grams)
- 1 cup crisp rice cereal
- 1/4 cup mini chocolate chips
Instructions
- Line an 8-inch square pan with parchment paper, leaving some overhang on two sides to lift the bars out later.
- In a small saucepan over low heat, warm the peanut butter and honey together, stirring often, for about 3 minutes until smooth and fully combined.
- Remove the saucepan from the heat and whisk in the cocoa powder, vanilla extract and salt until the mixture is glossy and even.
- In a large bowl, combine the quick oats and crisp rice cereal.
- Pour the warm peanut butter mixture over the dry ingredients and stir with a sturdy spatula until every piece is coated.
- Let the mixture cool for 5 minutes, then fold in the mini chocolate chips so they stay scattered and do not melt completely.
- Press the mixture firmly and evenly into the prepared pan using the back of a measuring cup or your hands lightly dampened with water.
- Refrigerate the pan for at least 1 hour, until the bars are firm enough to slice.
- Lift the bars out using the parchment overhang, then cut into 16 squares with a sharp knife.
Notes
- Quick oats give the softest chew; old-fashioned oats will make a slightly firmer bar.
- For cleaner cuts, chill the pan thoroughly and wipe the knife between slices.
- Use a gluten-free crisp rice cereal if needed for dietary requirements.