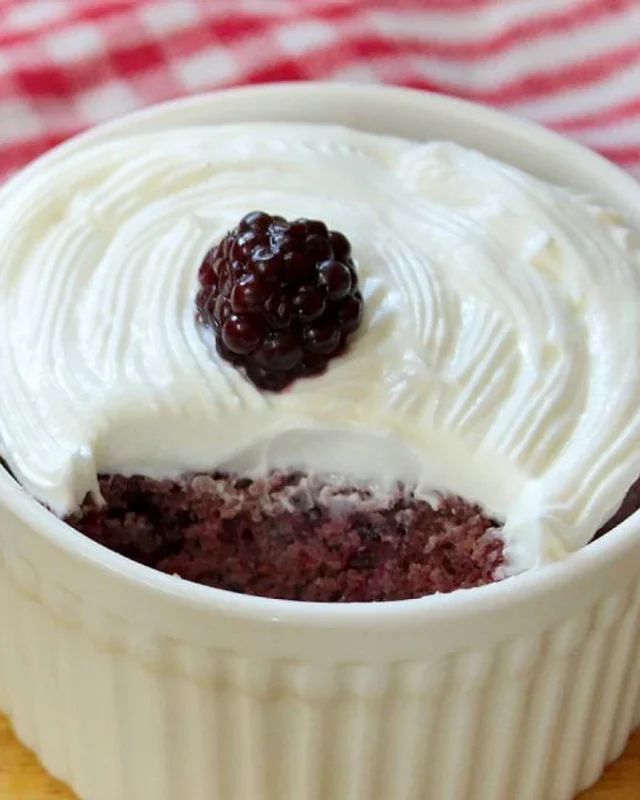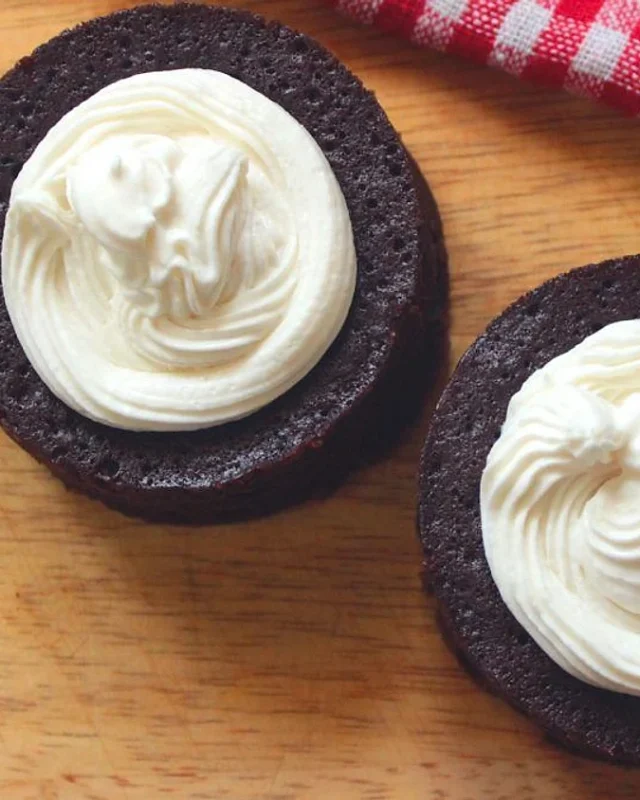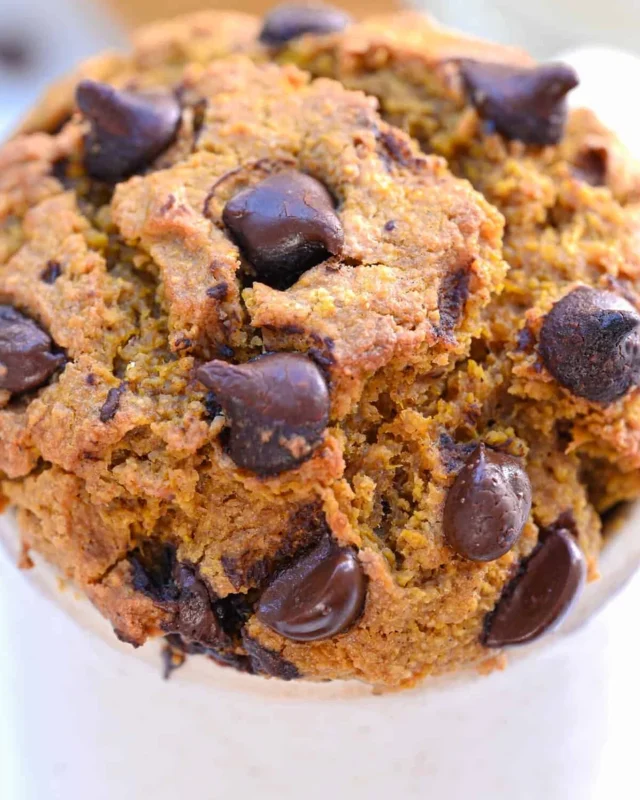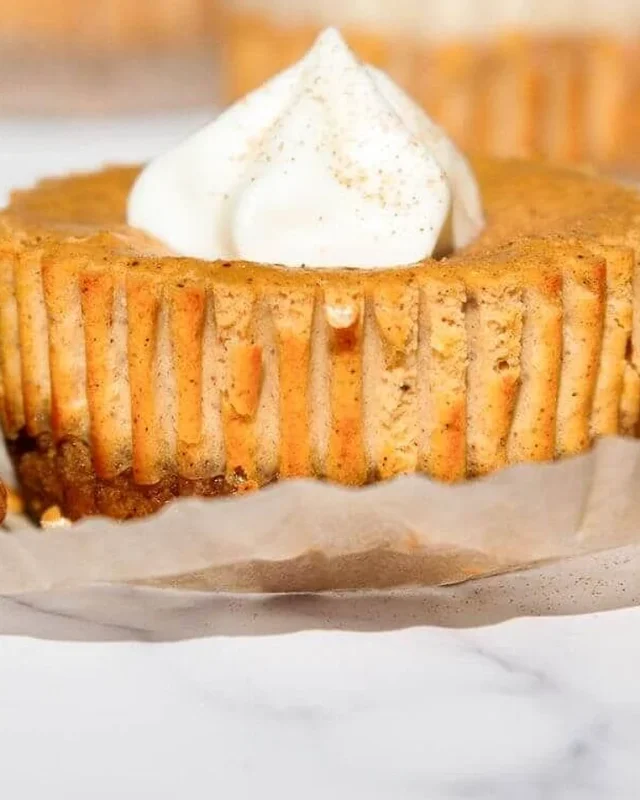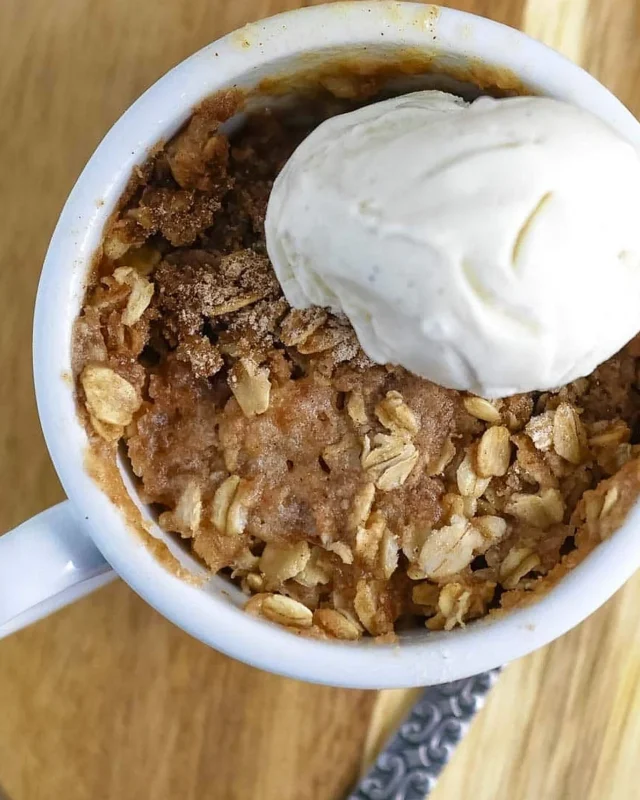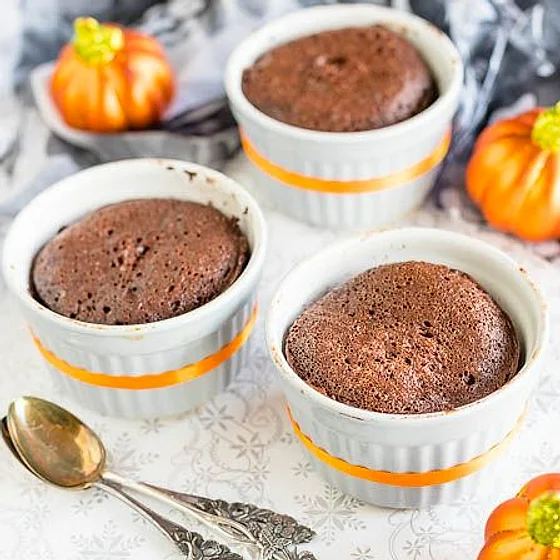
When a chocolate craving hits late in the evening, this chocolate peanut butter mug cake is my go-to. It needs one mug, one microwave, and about two minutes of your time.
It’s perfect for weeknight treats, a quiet night in, or a small dessert after a busy day when you don’t want to turn on the oven for a full batch of cookies.
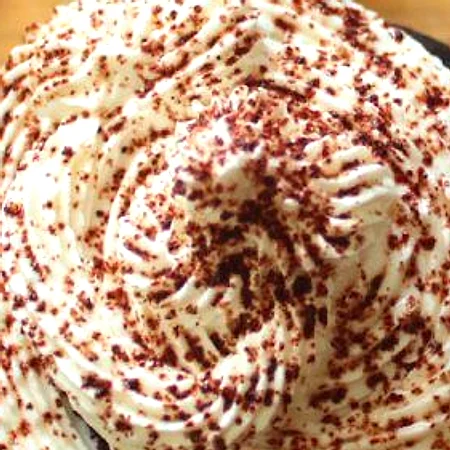
The peanut butter and cocoa pair beautifully, and a spoonful of whipped cream on top makes it feel like a proper dessert.
Why This Recipe Works
Peanut butter gives this mug cake its richness and a soft, fudgy texture. Combined with unsweetened cocoa powder, the flavor is deep and chocolatey without being overly sweet, which makes it easy to adjust with stevia.
The egg and heavy cream bind everything together, while the baking powder gives the cake enough lift to rise in the mug. Cocoa butter adds a silky finish that keeps the center moist after microwaving.
Ingredients
- Peanut butter
- Egg
- Cocoa butter
- Heavy whipping cream
- Unsweetened cocoa powder
- Baking powder
- Stevia
- Whipped cream for garnish
Find the exact amounts in the recipe card below.
Variations
- Crunchy Peanut Butter – Swap smooth peanut butter for crunchy to add texture and little bursts of nuttiness throughout the cake.
- Almond Butter – Use almond butter for a milder, slightly sweet nut flavor that still pairs well with chocolate.
- Dairy-Free Version – Replace the heavy cream and cocoa butter with coconut cream and coconut oil for a dairy-free option.
How to Make Chocolate Peanut Butter Mug Cake
- Step 1 – Grease a large microwave-safe mug lightly with a little cocoa butter or cooking spray so the cake releases easily.
- Step 2 – Melt the cocoa butter in the microwave for about 15 seconds until it becomes fluid.
- Step 3 – Add the peanut butter and whisk it into the melted cocoa butter until smooth.
- Step 4 – Beat in the egg and heavy whipping cream until the batter looks glossy and even.
- Step 5 – Stir in the unsweetened cocoa powder, baking powder, and stevia to taste, mixing until no dry streaks remain.
- Step 6 – Microwave on high for 60 to 90 seconds, checking at 60 seconds, until the top looks set and the center is nearly firm.
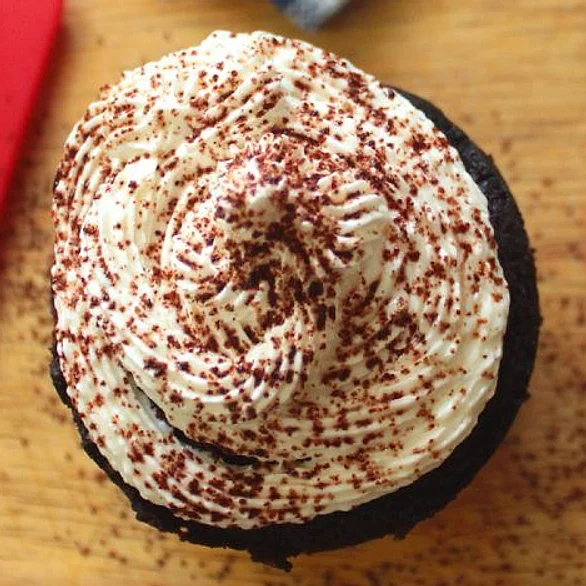
- Step 7 – Let the mug cake cool for 2 minutes so it finishes setting, then top with whipped cream before serving.
Expert Tips
- Watch the timing – Microwaves vary, so start with 60 seconds and add 10-second bursts if the center is still wet.
- Taste the batter – Stevia is strong, so add a few drops at a time and taste before microwaving.
- Use a large mug – The batter rises a lot, so a roomy mug prevents messy overflow.
Serving Suggestions
Serve the mug cake warm, straight from the mug, with a generous swirl of whipped cream on top. A few chopped peanuts or a light dusting of cocoa powder add a nice finishing touch.
For a bit more indulgence, add a few dark chocolate chips to the batter before microwaving so they melt into the cake.
How to Store Leftovers
Mug cakes are best eaten fresh, but any leftovers can be covered and refrigerated for up to two days. Reheat them in the microwave for 15 to 20 seconds before adding fresh whipped cream.
I don’t recommend freezing a mug cake, as the texture becomes dense once thawed.
Frequently Asked Questions
Can I make this mug cake without an egg?
You can try replacing the egg with an extra tablespoon of heavy cream and a teaspoon of ground flaxseed mixed with water. The texture will be slightly softer and less structured.
Is chocolate peanut butter mug cake low carb?
It is relatively low in carbohydrates since it uses cocoa powder, peanut butter, and stevia instead of sugar and flour. Check your specific brands for exact nutrition information.
Why did my mug cake turn out rubbery?
Rubbery mug cakes are usually overcooked. Reduce the microwave time by 10 to 15 seconds and check the center before adding more time.
Can I make this mug cake in the oven?
Yes. Bake the batter in a greased ramekin at 350°F (175°C) for 10 to 12 minutes, until the center is set.
Chocolate Peanut Butter Mug Cake
 Recipe byPaula Hernandez
Ingredients
- 3 tbsp peanut butter
- 1 egg
- 1 tbsp cocoa butter (regular butter can be used as well)
- 1 tbsp heavy whipping cream
- 2 tbsp unsweetened cocoa powder
- 1/2 tsp baking powder
- Stevia to taste
- Whipped cream for garnish
Instructions
- Grease a large microwave-safe mug lightly with a little cocoa butter or cooking spray.
- Melt the cocoa butter in the microwave for about 15 seconds until fluid.
- Add the peanut butter and whisk it into the melted cocoa butter until smooth.
- Beat in the egg and heavy whipping cream until the batter looks glossy and even.
- Stir in the unsweetened cocoa powder, baking powder, and stevia to taste until no dry streaks remain.
- Microwave on high for 60 to 90 seconds, checking at 60 seconds, until the top looks set and the center is nearly firm.
- Let the cake cool for 2 minutes, then top with whipped cream and serve.
Notes
- Microwave times vary by wattage, so adjust in 10-second increments.
- Add a few drops of stevia at a time, as sweetness levels differ between brands.
- For a dairy-free version, use coconut cream and coconut oil instead.